Hacking Lua (in Xcode)
I have always been fascinated by application virtual machines. And I have been trying to find a simple but well-documented one to work on for fun. There is a proliferation of Javascript VMs out there but they are pretty big (V8 is the latest kid on the block and it's about 100 000 lines of C++, not my favorite language) and aren't as well documented.
There are some smaller ones like tinyrb and tinypy but the goal of such projects aren't really clear. I am not sure how much of Ruby/Python they are trying to support. They are great for hacking on if you have some experience with VMs already and can contribute to the design/implementation. But otherwise, it can be pretty hard to comprehend what is going on.
Both tinyrb and tinypy did mention that they were trying to emulate the Lua VM. So I decided to check it out. The Lua VM (like the Parrot VM) is a register-based VM, which is pretty unusual since most VMs are stack-based. Its use of registers instead of a stack makes it more fascinating to study.
And I like what I have seen so far. There is good documentation on multiple levels: the language itself, the architecture of the VM and plenty of examples. Also, the code is in C which is less messy than C++. The Makefile is simple and isn't using any cryptic tricks. And Lua itself seems like a simple language to learn.
So my plan is to dive into the source for Lua and then see what can be done to improve tinyrb. But first, I need to set up an environment to develop in.
I could certainly continue to use vim/TextMate, but I have been using Xcode more because I am doing some iPhone development and have gotten use to some of its features. And I like its built-in debugger which saves me from having to interact with gdb directly for the common tasks. In fact, I am not sure if there are better C/C++ IDEs for OS X. The Eclipse CDT project is the closest that I can think of but I haven't used it much.
So here are my steps for doing this: from getting the source into Xcode and also starting a debugging session. I am using the All-in-one look for Xcode so your UI might look different.
Grab the source for Lua-5.1.4 from http://www.lua.org/ftp/lua-5.1.4.tar.gz. Unarchive it. For this article, I will be unarchiving it in ~/Xcode.
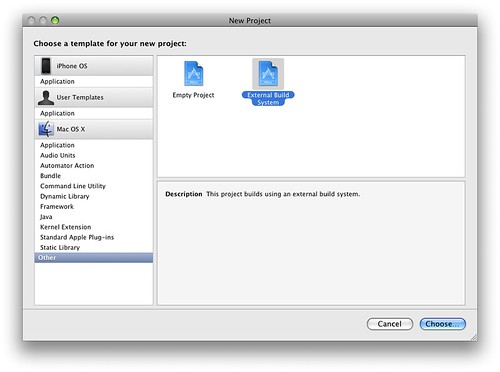
Fire up Xcode and create a new External Build System project. I called my project Lua. You can put the project wherever you want. It doesn't need to be in the same directory where you unarchived the Lua source code since we will be referencing the source files anyway.
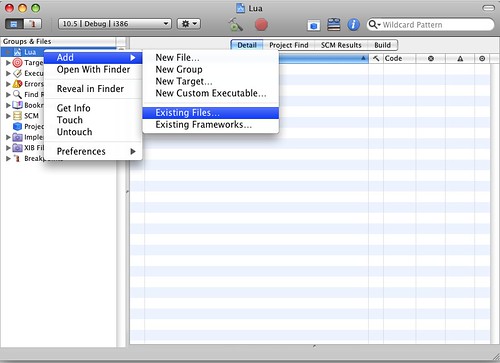
Right-click on the project and add the entire directory where you unarchived the Lua source code. In my case it would be ~/Xcode/lua-5.1.4.
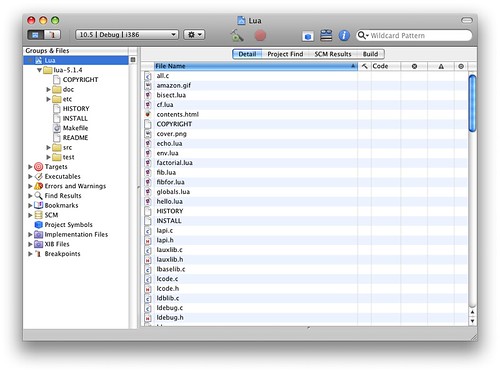
This is what it looks like after adding all the files.
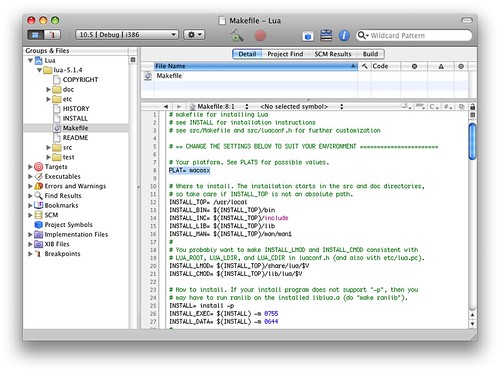
Next, we need to edit two of the Makefiles. First, we need to edit the top level Makefile in ~/Xcode/lua-5.1.4. Change line 8 to PLAT= macosx since we are targeting the OS X platform. Then, we need to make changes to the Makefile in ~/Xcode/lua-5.1.4/src. Change line 17 to MYCFLAGS+= (we want the + symbol). Change line 108 to $(MAKE) all MYCFLAGS+=-DLUA_USE_LINUX MYLIBS="-lreadline" (again, we want the + symbol). In fact, by default, it should have the + symbol so that we can easily accumulate our own settings. I suspect that this is a careless omission in the Makefile for Lua.
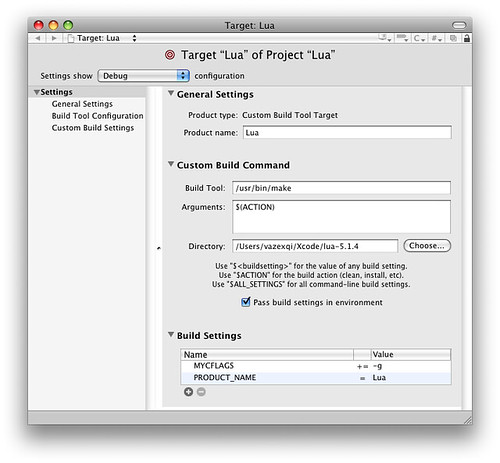
We need to make some changes to the Target configuration for our Project. So navigate to the Lua target in your Groups & Files (it's the left navigation pane). And double-click the Lua target. Then edit it so that it resembles the image above. Notice the line that says "Settings show Debug" near the top of the window; we are changing the settings for Debug (and not Release).
You need to change the directory to the location where you unarchived the Lua source so that it can find the top-level Makefile.
Then you need to add a new build setting, MYCFLAGS so that we can pass the -g flag (for debug) to the compiler. Without this flag, we cannot debug our program effectively with the debugger (it doesn't have all the necessary debugging information).
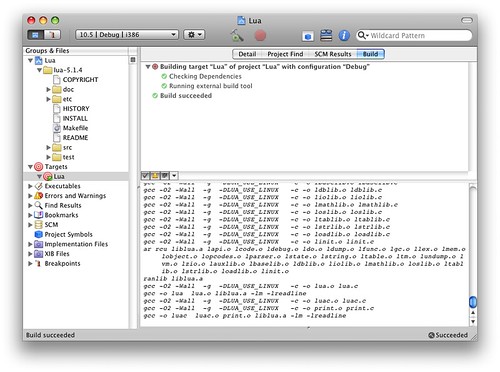
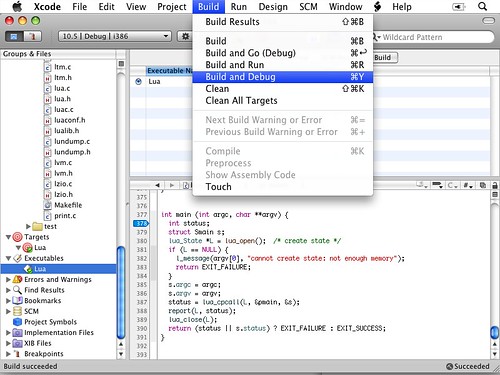
Now we can build our project by going to Build > Build. And notice that we are building for the Debug configuration i.e. on the menu item at the top it says 10.5 | Debug | i386. The settings that we made for our Lua target are reflected in the output of the build e.g. gcc -O2 -Wall -g .... (the -g flag that we specified in the settings).
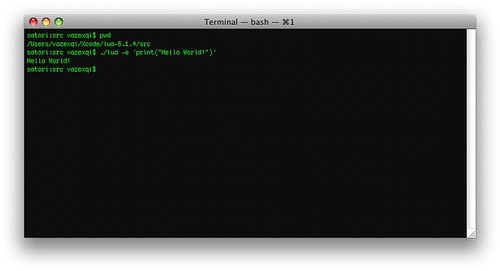
Now that the project builds, we can proceed to debug it (or rather we just want to step through its execution in the debugger to find out how it works). The image above shows how we would run that executable (notice that we are passing some arguments to it). We want mimic this and run the program in the debugger.
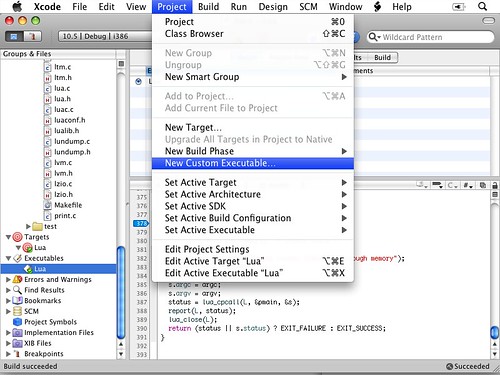
So we create a new Custom Executable. We call it Lua.
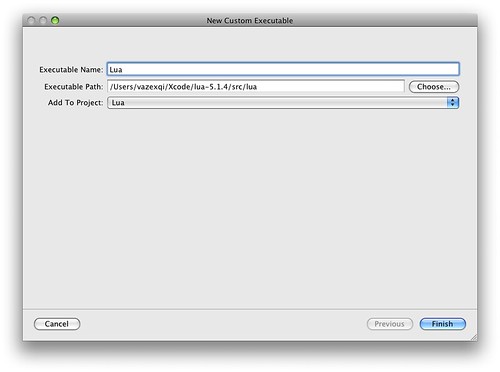
In the dialog that pops-up, remember to specify the location of the lua executable (you will only have it after you have built the project).
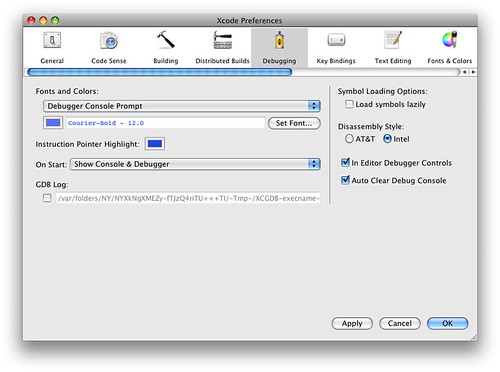
Before we can debug the lua executable, there is one more setting that we have to perform: change the way debugging symbols are loaded. So, open up the preferences for Xcode, and switch to the debugging tab. Ensure that the "Load symbols lazily" is unchecked.
Now we need to set a breakpoint. Notice in the image above that I have set one on line 378 in the lua.c (Xcode/lua-5.1.4/src/lua.c) file. After that we can invoke the debugger from the Build > Build and Debug menu.
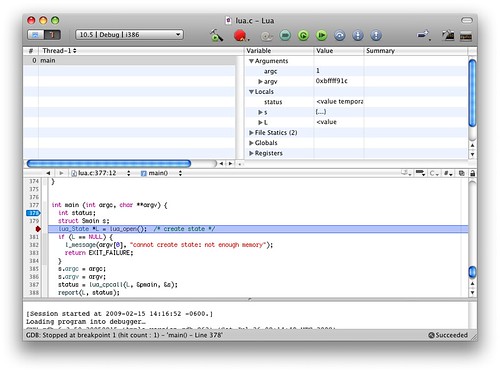
And finally we have our debugger in action.
The steps above are applicable for any other external project that you need to work on (sans the modifications to the Makefiles since that is Lua-specific).
Tweetcomments powered by Disqus